Investment casting is an intricate metal casting method, widely known and appreciated for its ability to produce accurate complex parts with intricate cavities and tight tolerances. As you could probably guess, this is not a simple process. It has many phases to it, and today, we’re going to walk you through all of them.
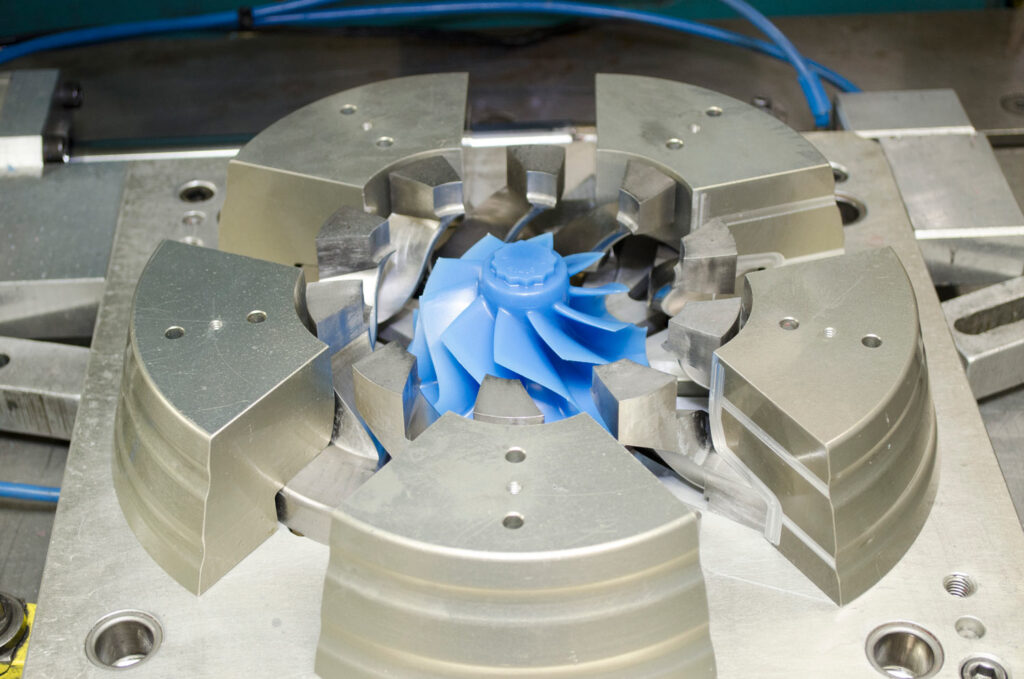
1. Making The Wax Dies
The first step of the process is the manufacture of the wax-injection dies. We use wax-injection dies to create a way pattern for the product we’re making. Back in the day, the dies were only used one time, but today, as the technology progressed, the dies are reused for as long as possible. Despite the name, the dies aren’t made from wax. They’re made from aluminium, and the wax is injecting into them.
2. Making The Wax Pattern
To inject the wax into the wax-injection die, we have to heat it up first. Wax is melted down to the semi-liquid state and is then injected into the die. Once injected into the die, the wax cools off and makes a wax pattern. A wax pattern will be slightly larger than the final product because of the shrinkage that occurs.
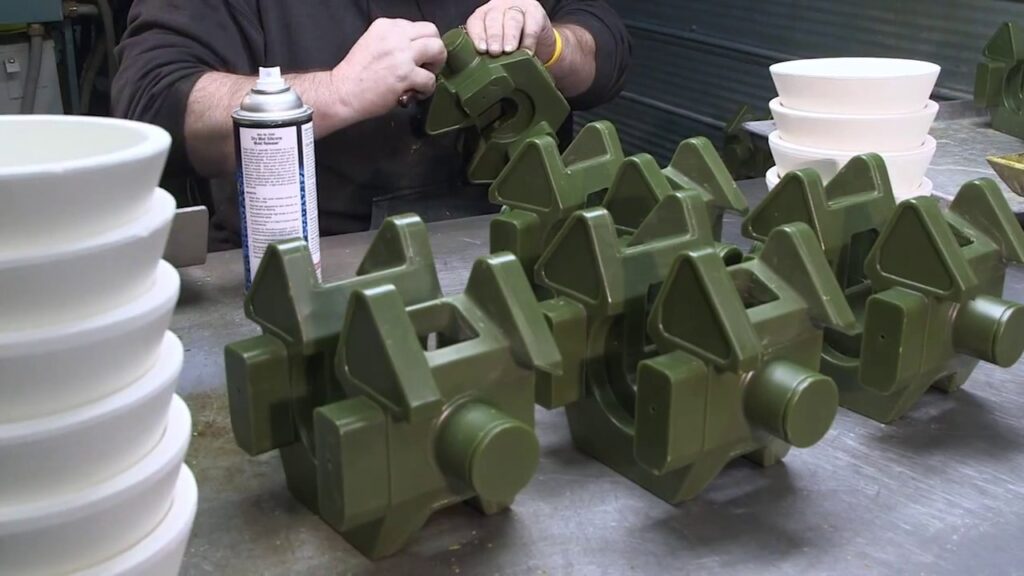
3. Making A Tree
A tree is basically a group of wax patterns combined with a regular sprue. This is done in order to speed up the investment steel casting process. This way, you don’t have to cast each individual part one at a time.
4. Making The Investment Shell (Mould)
According to dawangcasting.com, making the investment shell is the longest part of the casting process. It involves coating the pattern tree with refractory slurries. Basically, the tree is dipped into liquid mixtures over and over again until the investment shell or a ceramic mould is finally done. Each “dip” will take anywhere from 8 to 24 hours to fully dry, which is why this is the longest part of the casting process.

5. De-waxing The Investment Shell (Mould)
Once the mould is completed, manufacturers have to remove the wax from the mould in order to fill it with metal. To remove the wax from the mould, you’d place it into an autoclave, which then applies pressure and high temperature to the mould, causing the wax to melt and pour out of the mould. The wax is then collected and ultimately reused.
6. Heating The Mould
Upon de-waxing, the ceramic mould must be fried before it can become filled with liquid metal. They’re placed inside the oven that heats them up to over 1000°C, which removes any residual wax, strengthens the mould, makes sure the metal doesn’t cool once it’s pored and allow the mould to cool down together with the metal.
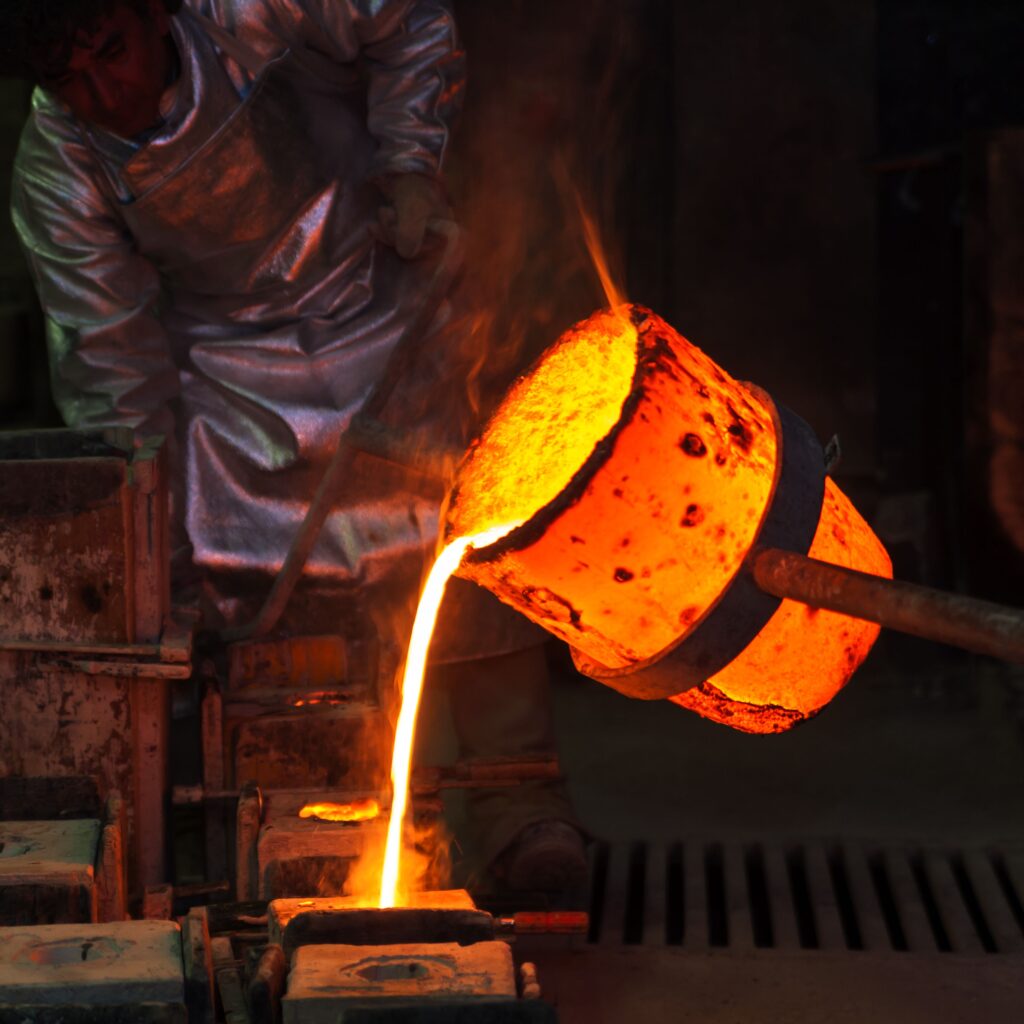
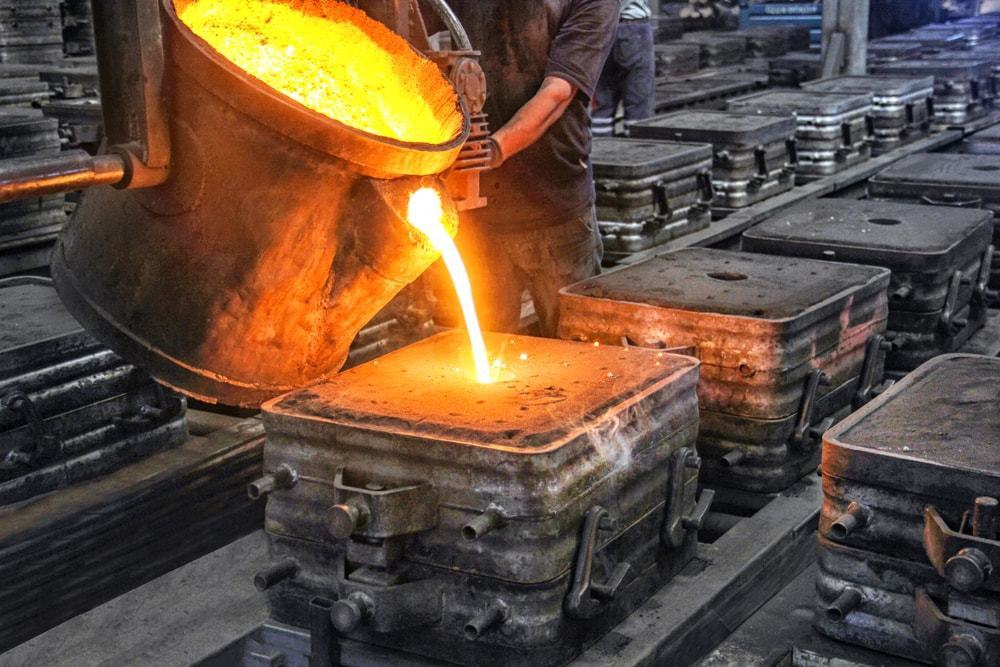
7. Pour The Metal In
Once the moulds have been treated, hot liquid metal is poured into the mould. The liquid metal quickly fills the mould and is then left to cool down and solidify.
8. Finishing Touches
After the metal has cooled down and solidified, the casting mould is removed, the casting is then removed from the tree and cleaned, and if needed – sometimes heat treated.
And that’s it. From that point on, the castings are ready to be used.