1. The quote process
Here is where you take a step back and look at the project as a whole. From start to finish you’ll need to calculate what you’ll be spending in terms of resources as well as finance, then you factor in your service rates. Combining the two will allow you to have a rough figure in mind, which you should then present to your client. Bearing in mind that you may spend extra resources/time on the project, it is better to round up then down for your quote.
2. Graphic design
Following a brief from the client, the design team gets their creative juices flowing, depending on how precise the design instructions are. Ensure before you even start the design, select all the appropriate software for every stage of the design process. Next, the layout of the design should be appropriate and spaced out evenly (not cramped in the middle of the page or too close to the page borders. A few more things to keep in mind:
You have approved fonts with full licences.
Suitable image resolution with full image rights.
Send it to the client to get the green light.
3. Sending to print
Correct file naming and storage. When storing design documents, it is important you save changes from the client as Version 1, Version 2, V3 etc. This way in the event that your client changes their mind, you can then refer to a previous version of the design they were happy with. File storage is the format in which you save the document, this could be pdf, svg, jpg, png, gif & many more.
File preparation – the final step before sending to print. This is for adding features such as bleed around the edges of the file or including crop marks.
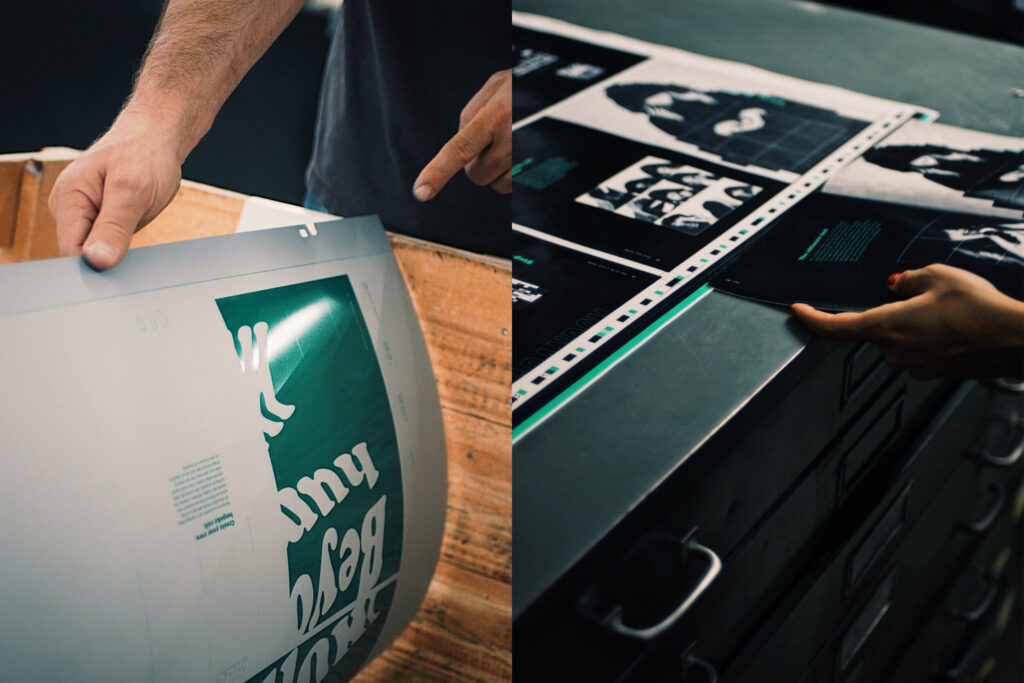
4. Prepress
Once the print team has received the files from the design team, they have two initial tasks to complete. The first task is the pre-press checks. Although the design team should have done their own proofing before sending it, there is also a human error factor to their proofing so a second pair of eyes wouldn’t do any harm. The 3 most common errors to look out for are: typos (error in text), design errors, or preparation errors (missing crop marks, bleed etc.). The file must also be checked to ensure the files are indeed in the correct format and resolution, this is to make sure the print run is successful.
5. Creating a Proof
Once the graphics file passes the pre-press stage, it moves on to the second pre-press stage – creating a proof. A proof is a close representation of how the finished piece will appear when it is printed.
On many projects, such as business cards or postcards, a proof is often created as a PDF. Since a PDF is an electronic file, it can be emailed to the client for approval…which greatly speeds up the proofing process.
Also, if a print project involves finishing operations such as binding or folding – like that of a book or brochure – it is recommended that a physical proof be created. A physical proof will demonstrate how the piece will be constructed, where it will be folded, the order of the pages, etc.
In addition to avoiding any unforeseen errors, the purpose of the proof stage is to ensure that the client and printer are in complete agreement on the desired outcome.
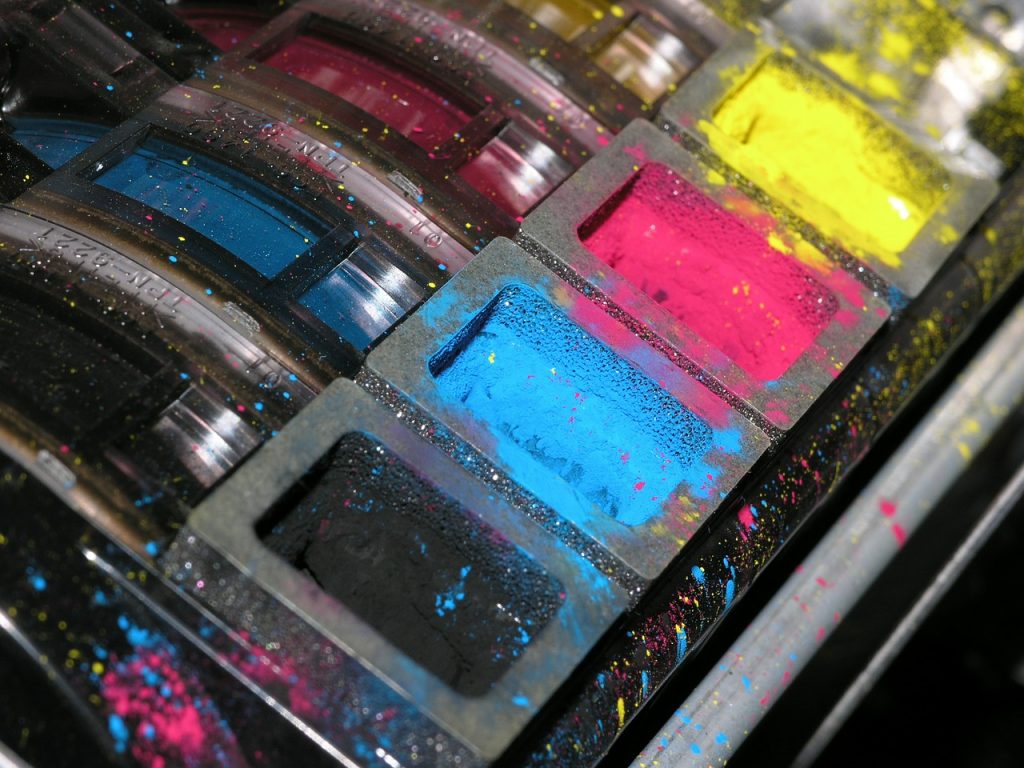
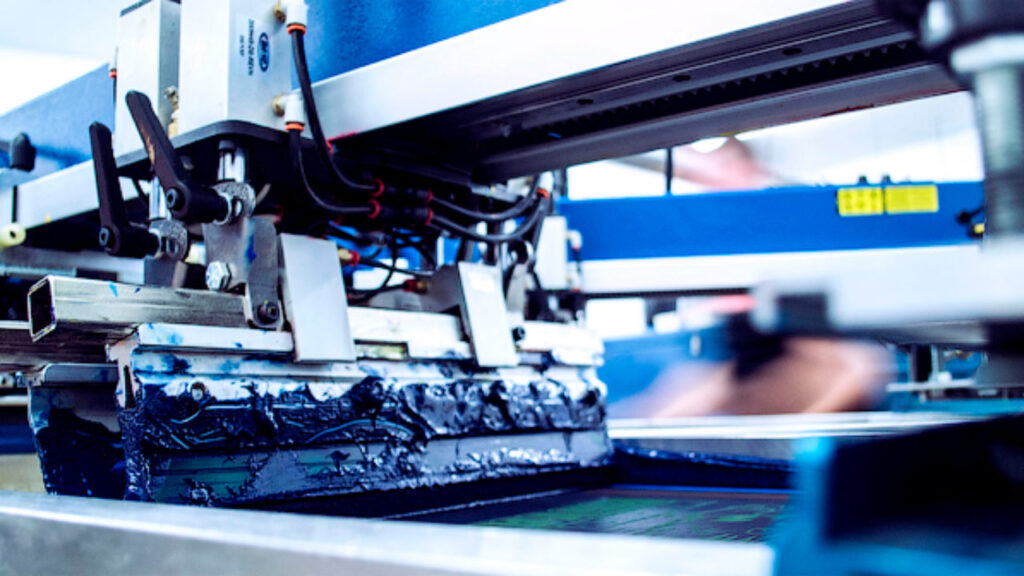
6. Printing
The Printing Stage covers the transfer of an image to paper. Offset lithography is based upon two main principles:
That water and grease do not mix.
The ink is offset from a plate (positive image) to a rubber blanket (negative image) and then to the substrate (as a positive once again).
When a printing plate is made, the printing image is rendered grease-receptive and water-repellent, while the non-printing areas are rendered water-receptive and ink-repellent. On the press, the plate is mounted onto the plate cylinder which, as it rotates, comes in contact with rollers wet with water (or dampening solution) and rollers wet with ink. The dampening solution wets the non-printing areas and prevents the ink from penetrating these areas. The ink wets the image areas, which are transferred to the intermediate blanket cylinder. The paper picks up the image as it passes between the blanket cylinder and the impression cylinder.
While this process involves primarily one machine, there are many areas of concern.
To ensure high quality printing the printer must:
- Match the ink colour specified
- Control dot gain
- Minimise paper movement
- Minimise image distortion or noise such as dust & hickies.
- Check that the pages back each other correctly.
- Evaluate halftone quality and attempt to hold the highlight & shadow detail.
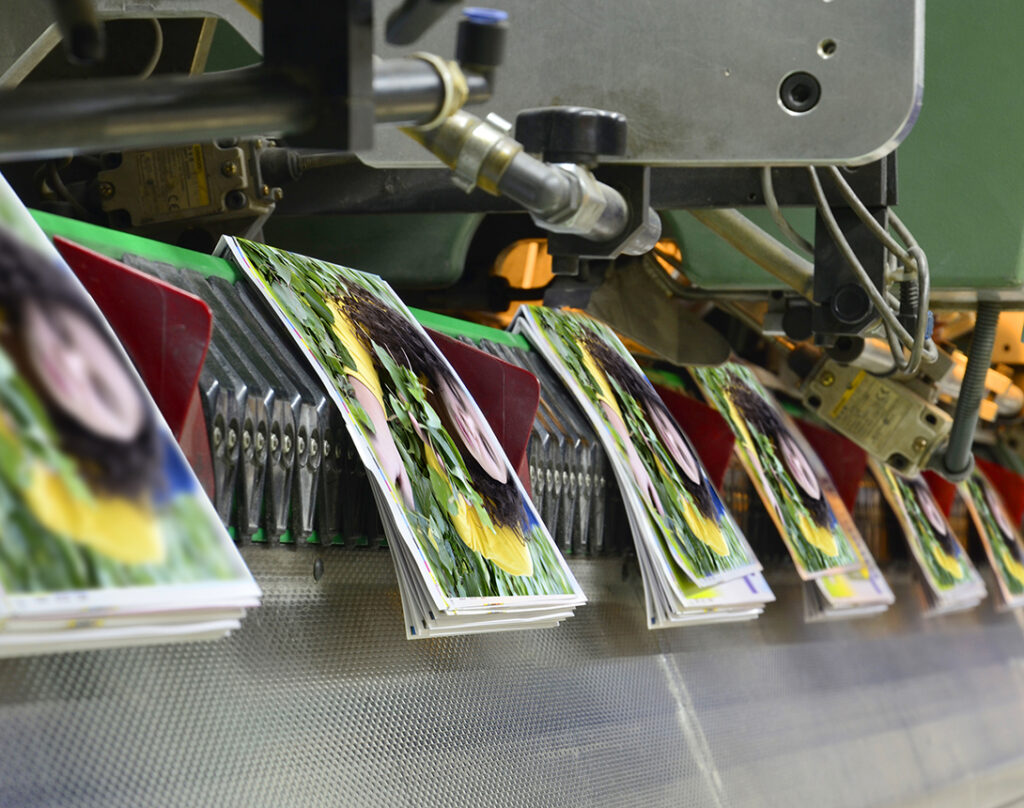
7. Finishing/ Post-press
These are the processes which occur once an item has been printed. This could include folding, binding, cutting, embossing, debossing, foiling, laminating, Spot UV, laser cutting or a wide range of other finishing activities.
A printed product is described, when finished, as portrait (taller than it is wide) or landscape (wider than it is tall).
How it is finished determines the number of pages the item is said to have. An A4 sheet printed on one side only is said to be an A4, 1pp (printed page), whereas if the same item was printed on both sides, it would be 2pp. If that item were then folded in half, it would become 4pp. There are numerous folding descriptors including gatefold, concertina and roll folds.
Binding is another big consideration. The type of binding used will depend on the number of pages, what the document is to be used for and the look you are after for your documents. Where page numbers are relatively small, saddle stitching is the most common binding method. Saddle stitching uses wire stitches (think staple) put through the spine at the fold. Other common methods include perfect binding and thread sewing. These methods are distinguishable by their square spines and use glue or a sewing method to secure the pages in the document.
Special finishes add a unique look and feel to documents. Gold or silver foiling adds sparkle and exclusivity to documents. Lamination a layer of protection or tactility to items. And debossing or embossing a satisfying and subtle raised or recessed surface.
Finishes today include the digital application of gloss surfaces, in any design you like, to the surface of documents. This is a process we call BCQ Touch and can be totally unique and/or personalised for each document being produced. Laser cutting also allows hugely unique and fine cutting of your items to create something truly one of a kind.
If you would like to get your products printed by professionals, www.lamiservices.com offers premium print with local prices.